A tiled wall is an assembly. The tile provides the visible face; the background carries its weight; adhesive connects the two. In a shower, waterproofing and the details around corners, fittings and the tray also have to work together.
Start with the material and layout, then follow the layers behind it. This guide covers common wall finishes in British homes, from glazed ceramic splashbacks to stone, glass and mosaics. For the wall itself, see internal walls and ceilings.
Recognise the material before the pattern
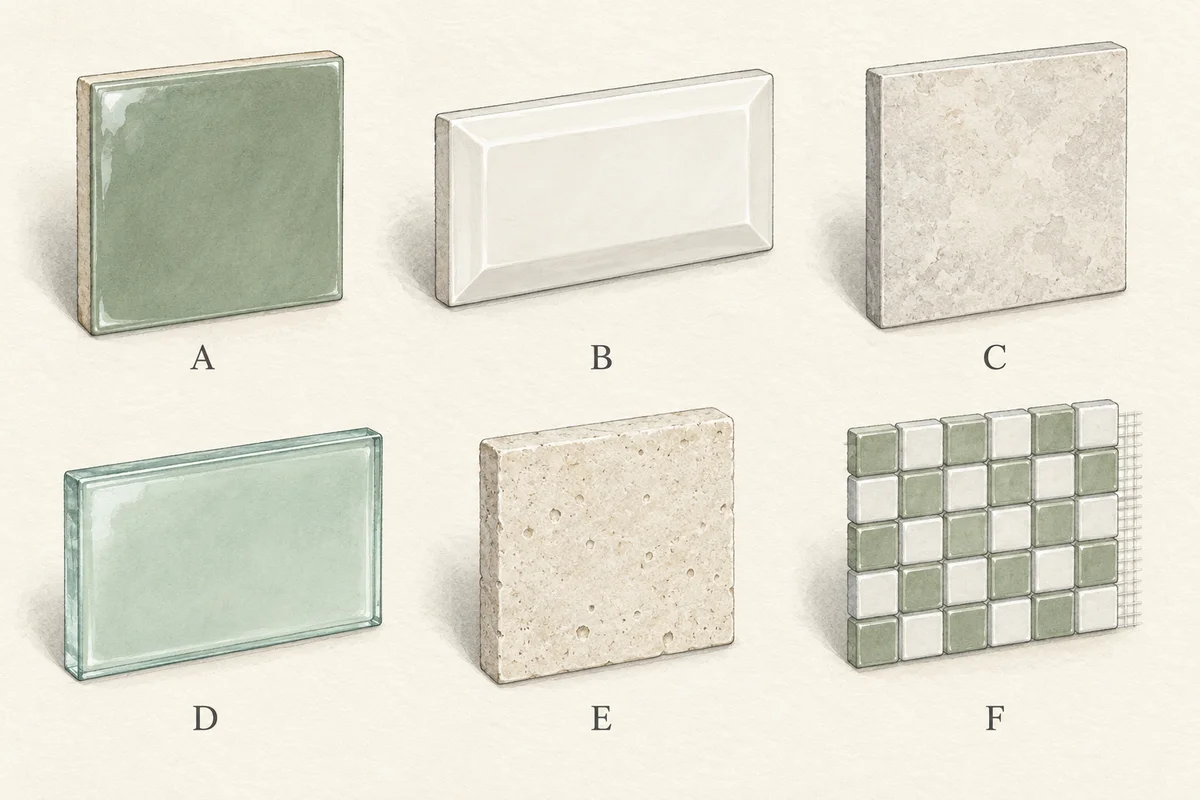
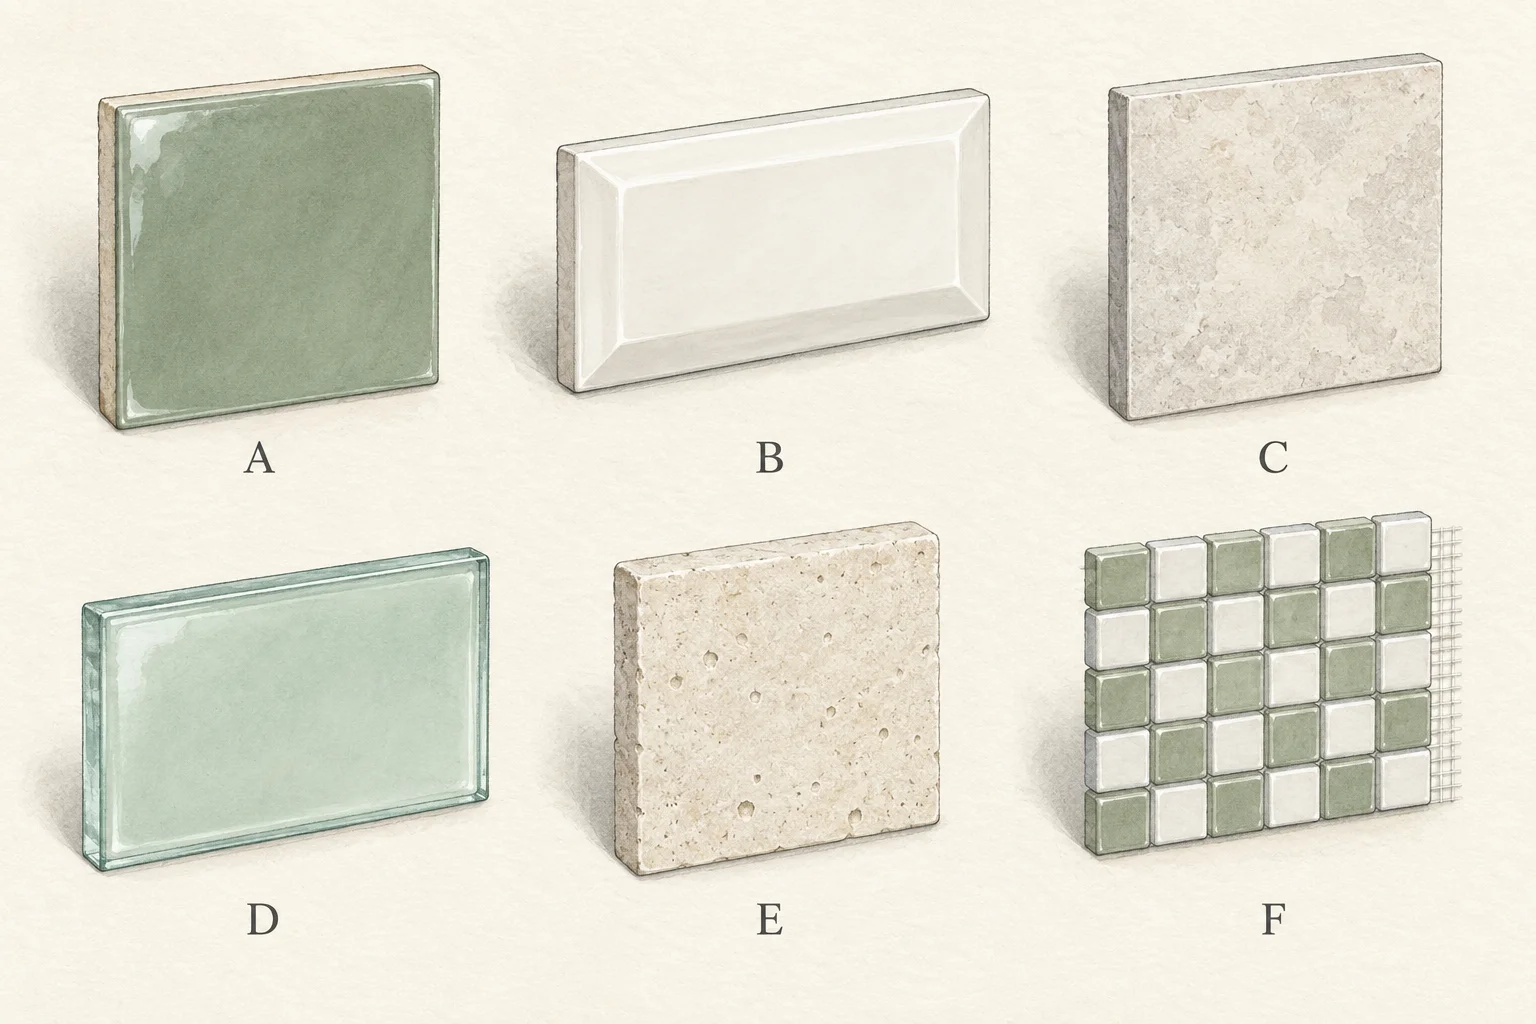
Illustration notes
AI-generated illustration. View larger image.
| Family | Read the face and body | Why the distinction matters |
|---|---|---|
| Glazed ceramic | A fired ceramic body with a glazed face; an exposed edge may show a different colour. | Glaze and body have different properties. Check the tile's intended use, especially decorative finishes. |
| Porcelain | A dense ceramic family, supplied with many surface treatments and printed effects. | A stone-effect face is not natural stone. Adhesive selection must suit the low-absorption tile. |
| Natural stone | Limestone, marble, travertine and slate vary in mineral structure, texture and finish. | Staining, moisture sensitivity and care differ; identify the stone rather than specify “stone tiles”. |
| Glass | Clear, translucent, coloured or backed products. | The adhesive colour, backing and bed can affect the visible result. |
| Mosaic | A format of small pieces, sometimes supplied on mesh or face-mounted sheets. | The pieces may be ceramic, stone or glass. Sheet backing and installation instructions matter as well as the face. |
The Tile Association distinguishes these material families; Original Style's Glassworks and Earthworks guides demonstrate the different fixing and care questions for glass and stone. WT01, WT03–WT04
Flat, bevelled, relief and crackle finishes
A metro tile describes a familiar rectangular form, often with a bevelled face; it is not a material classification. A relief tile has a raised or recessed pattern. Borders, pencil liners, cappings and dado mouldings introduce separate profiles and corner pieces. Check their depth and returns as part of the design, not after the flat tiles have been ordered.
Crackle glaze is a deliberately fissured appearance in some ranges. Similar fine crazing can also develop over time. It is different from a crack passing through the tile body. Original Style gives particular sealing and exposure restrictions for its crackle products; those instructions cannot be transferred to every glazed tile. WT02
A rectified edge is finished to a more precise size after manufacture. It does not mean that tiles should be butted together without grout joints. WT01
Lay out the whole wall, including its edges
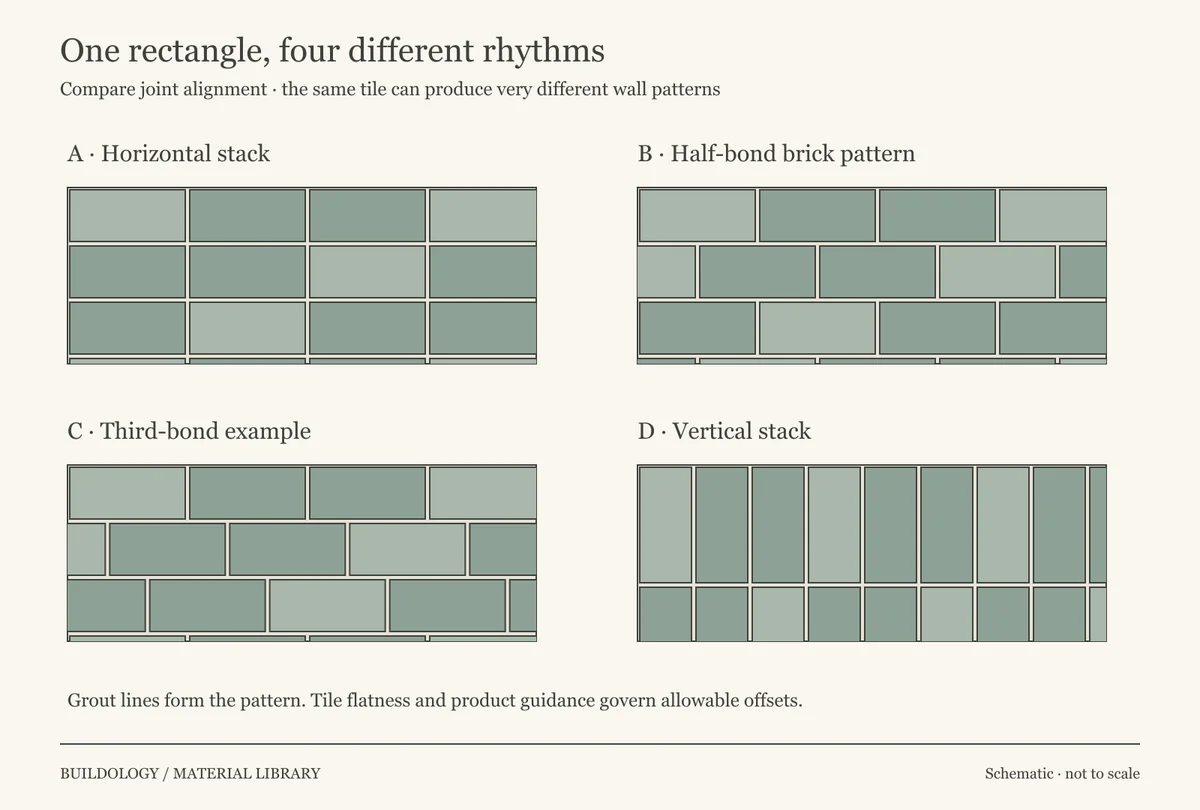
Illustration notes
Original explanatory diagram. View larger image.
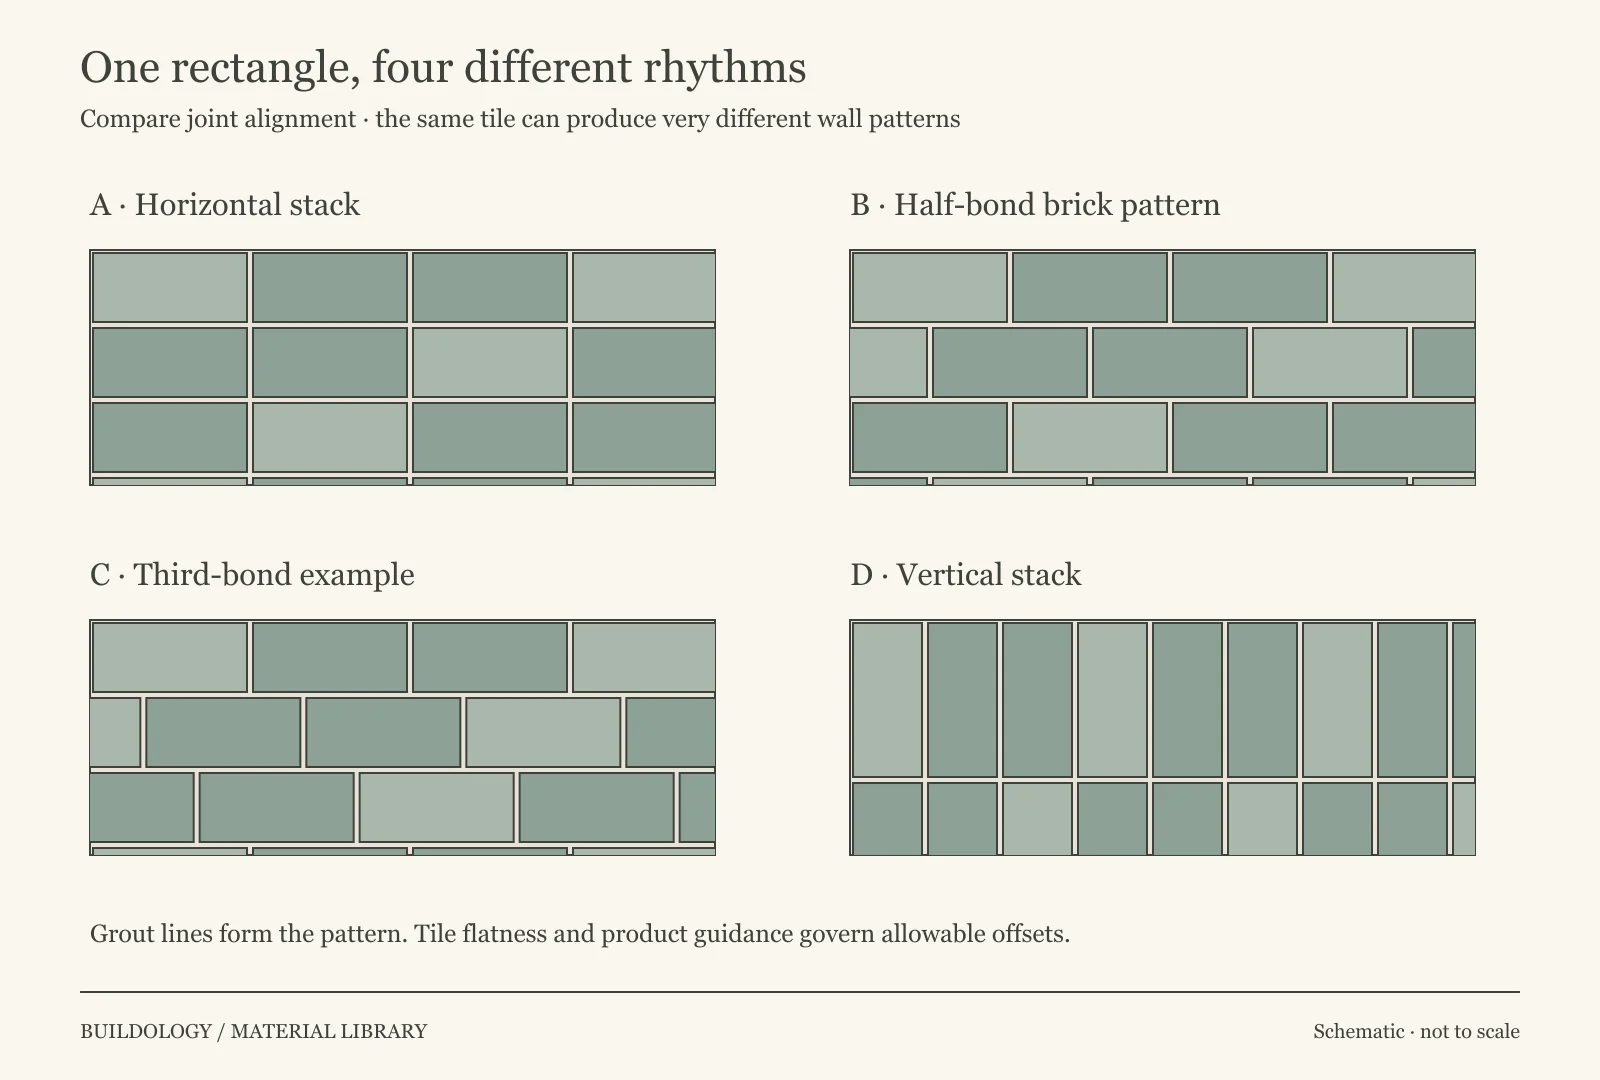
Stacked joints emphasise a regular grid. A brick pattern offsets neighbouring courses; changing the offset changes both rhythm and cut positions. Vertical layouts emphasise height. Herringbone uses rectangles meeting at right angles; compare its joint geometry with chevron in the floor-finish guide.
Set out an elevation that includes the window, doorway, bath edge, socket positions and any border. Test two starting positions: a tile centred on the focal point and a joint centred there. Compare the resulting cuts at both ends and around openings. Original Style's setting-out guidance highlights avoiding narrow slivers. WT02
A centred pattern is not always the best fit for an irregular room. An intentional return at a window or a consistent border may matter more. Agree that choice before fixing, particularly where an expensive relief tile or decorative border is involved.
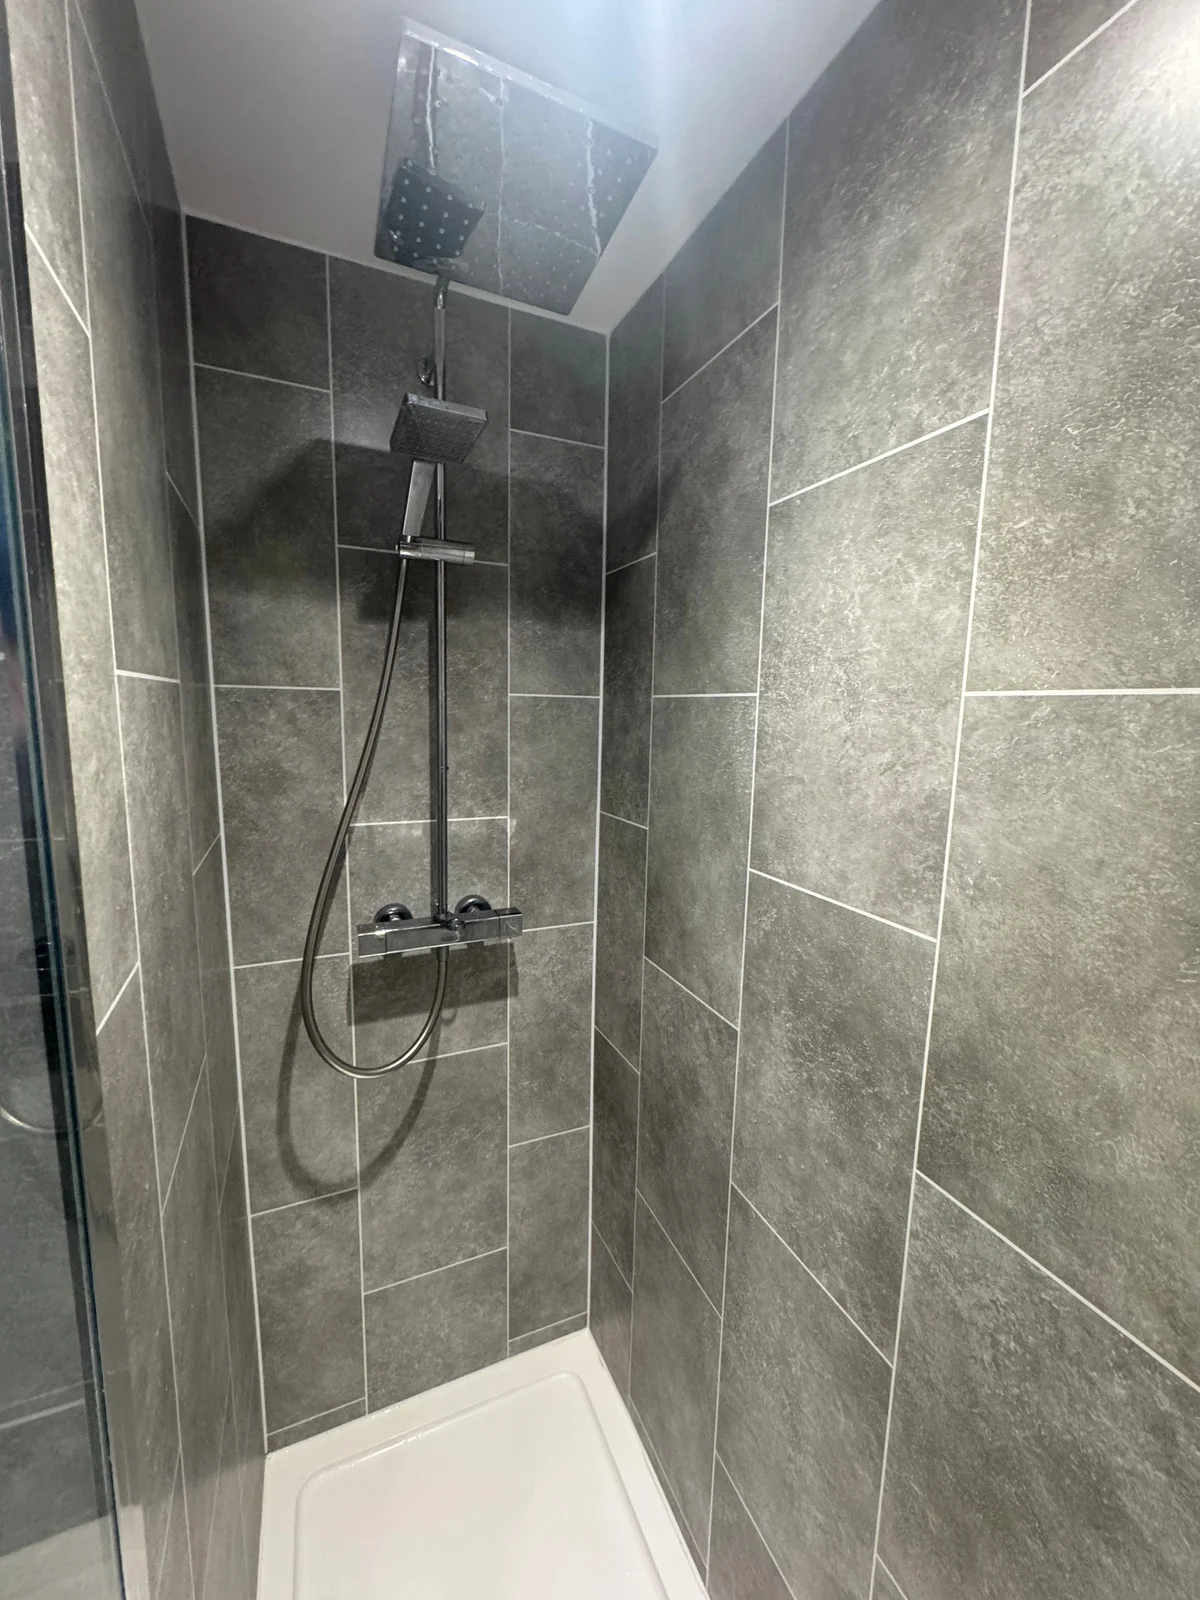
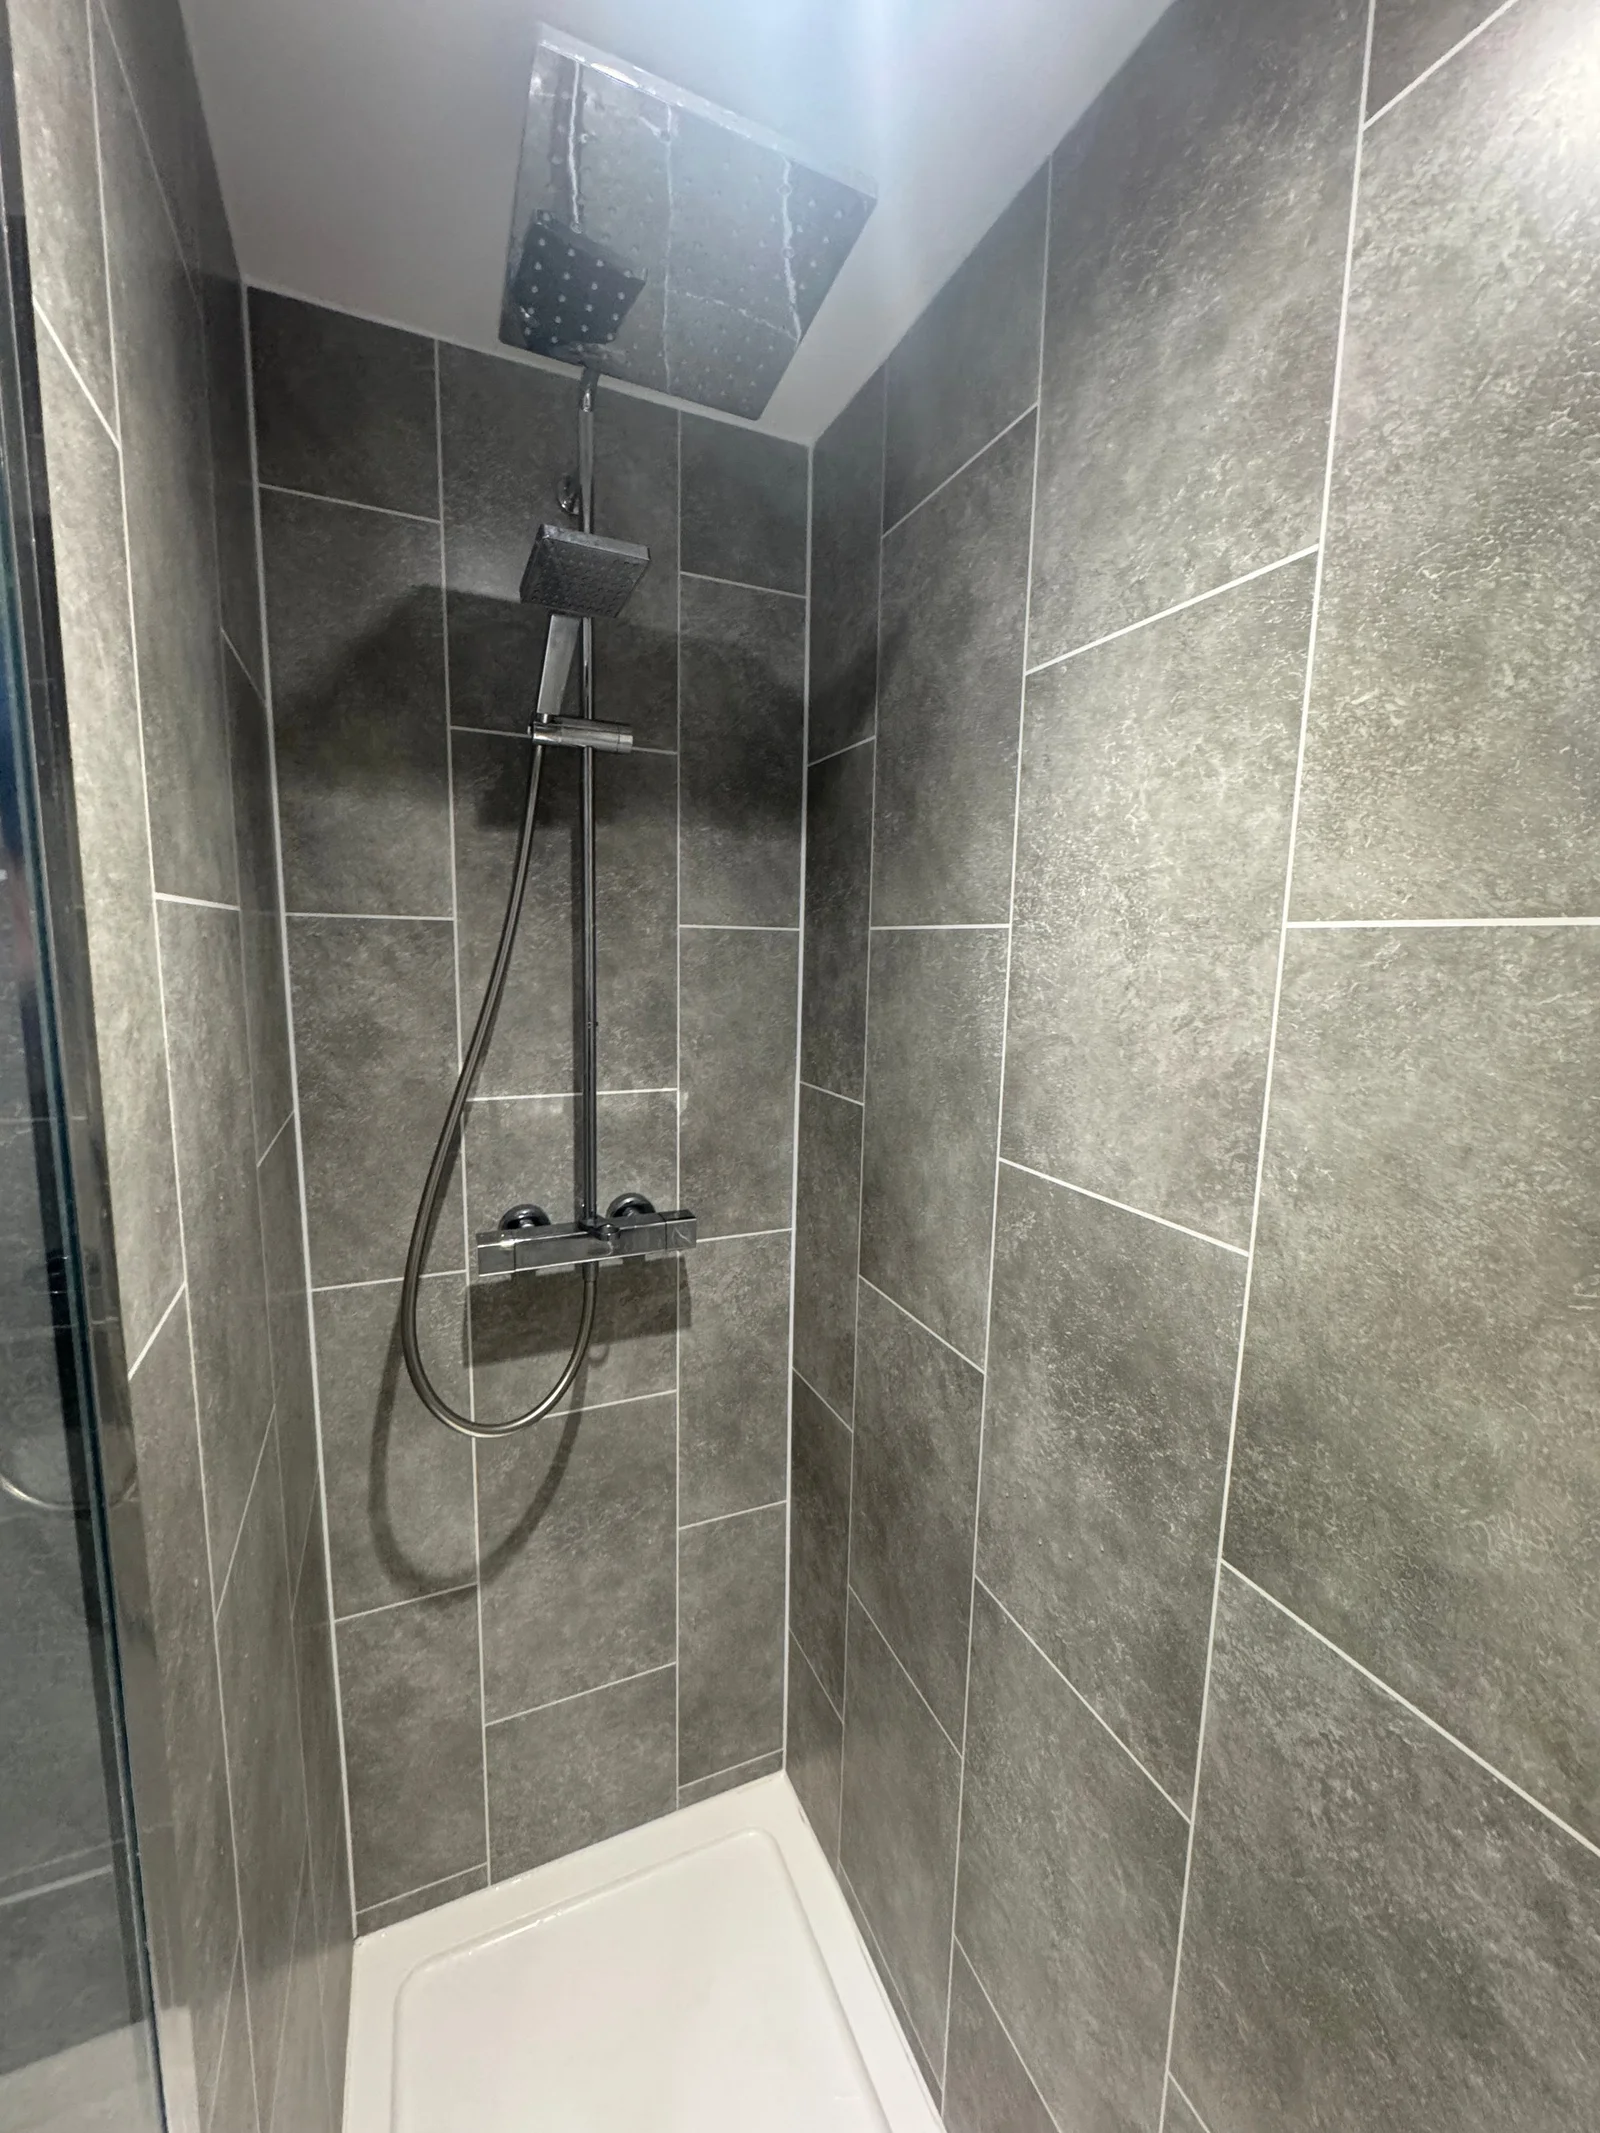
Follow the rectangular tile joints to the internal corner and down to the shower tray. The visible tile layout is only the surface of the assembly: the waterproofing and backing remain concealed.
Survey archive photograph · View larger image
Lippage, shade and matching
Lippage is a step between adjacent tile faces. Uneven backing, tile curvature and fixing can each contribute. Long rectangular tiles can show the relationship between a curved centre and a neighbouring end especially clearly in an offset layout. The laying pattern should follow the actual manufacturer's restrictions; the half-bond drawing is not a universal recommendation.
For a replacement, compare actual dimensions, thickness, bevel, glaze, texture, batch/shade and joint width. A nominal “100 × 200” description does not establish a match. Keep spare tiles and the carton details together. Check a sample at the repair position under the room's lighting, including light running across the surface.
Understand the layers behind the tile
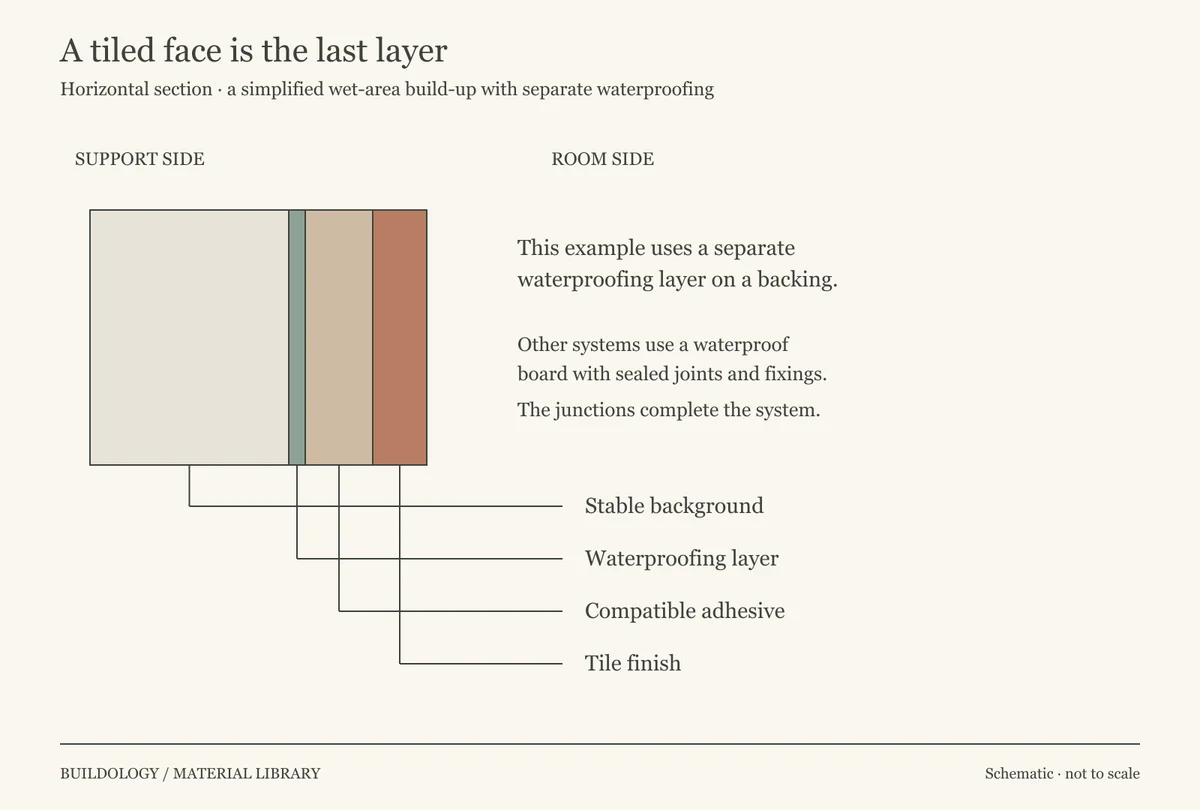
Illustration notes
Original explanatory diagram. View larger image.
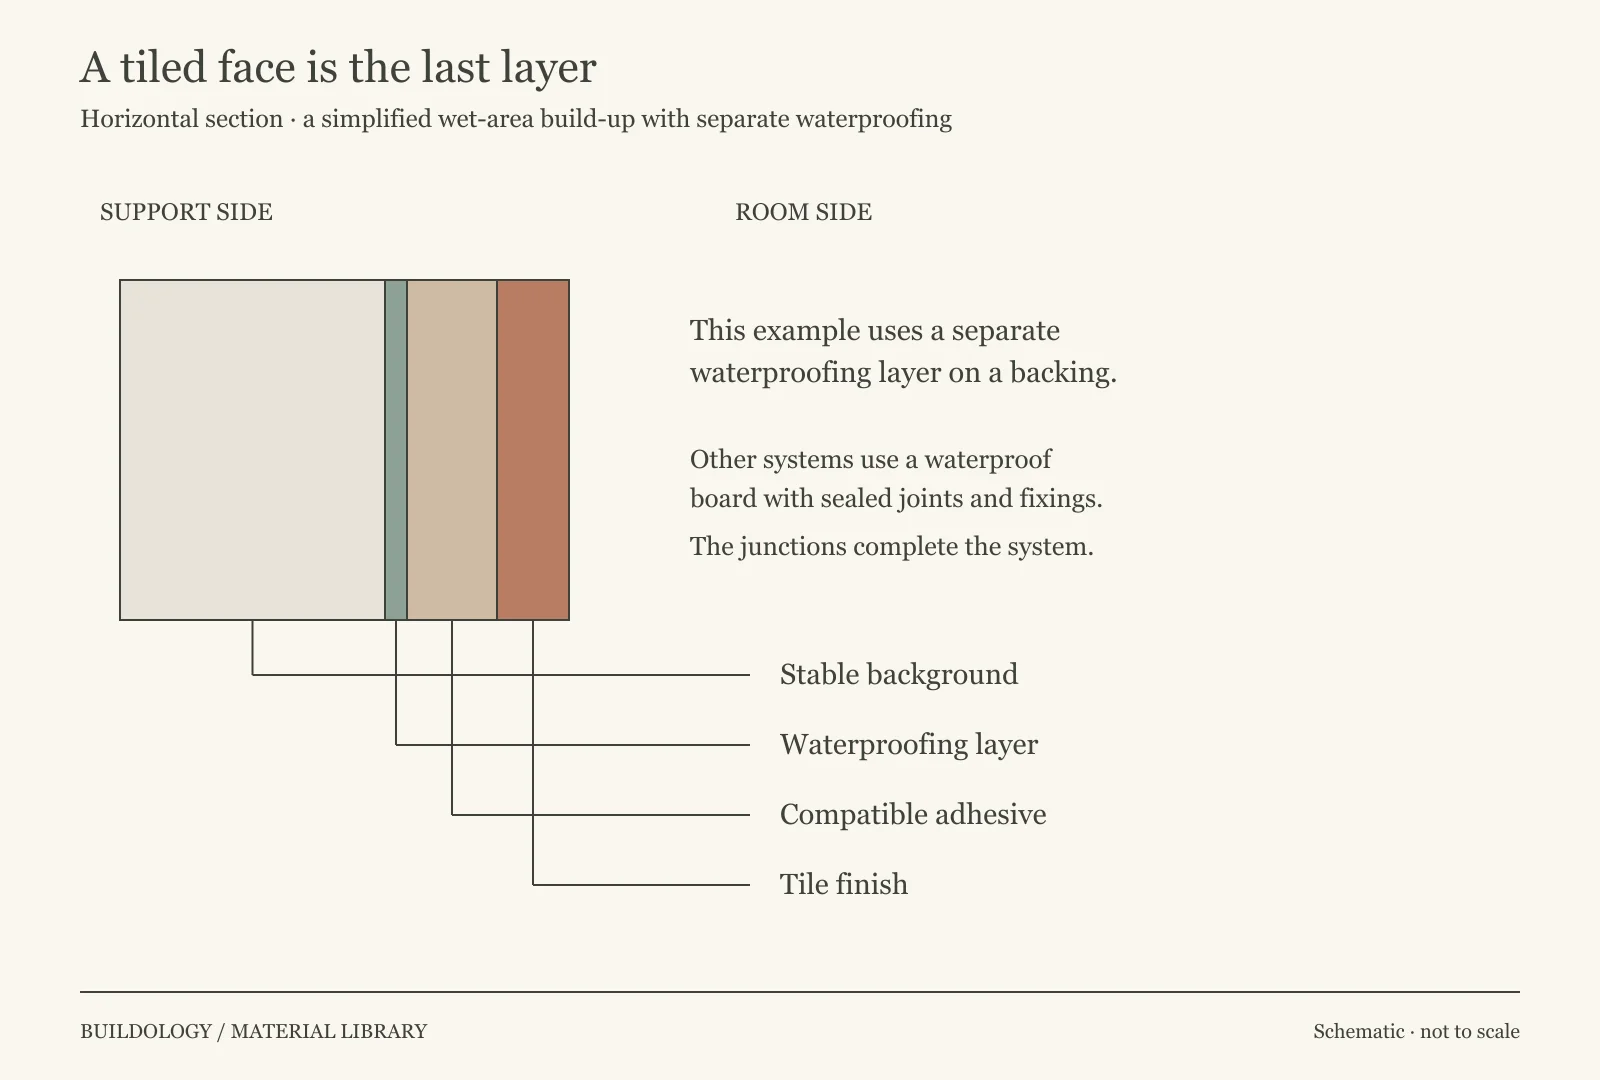
A tile backer board may tolerate water without being damaged, yet the gaps, screw holes and connections can still admit it. Other systems use a separate liquid or sheet membrane over a suitable background. Follow one compatible assembly through the details, especially the corner and the connection to the bath or tray. BAL's waterproofing guidance explains the role of joint tapes and penetration treatment. WT05
The adhesive bed also has a job beyond simply holding each tile in place. TTA advises solid bedding in frequently wetted areas and rejects dot-and-dab tile fixing. A few adhesive spots leave a different support and void pattern from a properly bedded tile. This refers to fixing the tiles, not a blanket statement about every drylining system. WT01
A sound-looking plaster face still has a weight limit
British Gypsum's White Book gives 20 kg/m² including tiles, adhesive and grout for Thistle plaster. Where a bonding agent plus Thistle plaster is used, its table includes the plaster itself within the 20 kg/m² total. Those are different totals. The background, condition and system still need to suit the proposed finish. WT06
TTA's general table distinguishes skimmed and unskimmed 12.5 mm plasterboard. Do not use an unskimmed-board allowance for a skimmed wall, or assume a backer board glued onto weak plaster bypasses the weaker layer. WT01
A heavier replacement tile on the same wall
Hypothetical example WT-01. A sound-looking Thistle plaster wall is to receive tiles weighing 24 kg/m². The proposed adhesive and grout add an estimated 4 kg/m². The tiler is offered a “stronger adhesive” as the solution.
Work through the load
The proposed finish totals 28 kg/m², exceeding the cited 20 kg/m² plaster limit. A higher-performance adhesive does not increase the plaster's capacity. Establish the existing build-up and select a suitable supported background or a lighter finish. If the wall is in a shower, resolve waterproofing as a separate part of the assembly. The calculation identifies a mismatch; it does not specify the replacement construction. WT06
Read the adhesive and grout descriptions
A classification is useful shorthand. In C2TE S1, C means cementitious, 2 improved characteristics, T reduced slip, E extended open time and S1 deformable. BAL SPF S1 is one product carrying that classification. D identifies a dispersion adhesive. WT07–WT08
These are tested performance categories, not a permission to bond any tile to any surface. “Flexible” does not make an unstable wall stable. The exact data sheet governs background preparation, primer, tile type, bed thickness and exposure. Open time describes the usable interval after spreading; it is different from the pot life of mixed material. WT07–WT08
Glass may reveal adhesive ridges or react poorly with an incompatible backing/adhesive combination. Light stone can be stained or visually altered by inappropriate fixing materials. These are reasons to obtain material-specific guidance rather than choose solely by bag colour or the word “flexible”. WT03–WT04
Grout joints and movement joints
Grout fills the regular joints between tiles. A movement joint is a deliberately detailed break that accommodates movement, using a suitable sealant or profile. Grouting across a required movement joint defeats its purpose. Corners, changes of background and junctions with other materials need particular attention. WT01
“Water-resistant grout” does not prove that a shower enclosure is waterproof. Look at the background protection and its continuity as well as the visible joints. A stone impregnator used to reduce staining is also a different product from a tanking system. WT04–WT05
Read a defect without jumping to its cause
| Finding | What it may tell you | Useful next distinction |
|---|---|---|
| Fine network confined to the glaze | Glaze crazing or an intentional crackle finish may be involved. | Compare product information, age and whether the body is cracked. |
| Crack crossing tiles and grout | The finish has fractured along a route. | Compare the backing, junctions and any evidence of change; it does not by itself establish structural movement. |
| Locally hollow sound | Support or bond may vary. | Sound alone does not identify the failed interface or prove a tile is loose. |
| Loose or bulging tile | The assembly is no longer reliably held in that area. | Address the risk of detachment and establish which layer has separated before choosing repair extent. |
| Recurring wetting outside the enclosure | Water is reaching somewhere it should not. | Investigate plumbing, tray/door interfaces and concealed protection; regrouting alone may miss the route. |
These comparisons help frame a proportionate enquiry. For wider moisture patterns use investigating moisture; for plaster separation use plaster and decorative finishes.